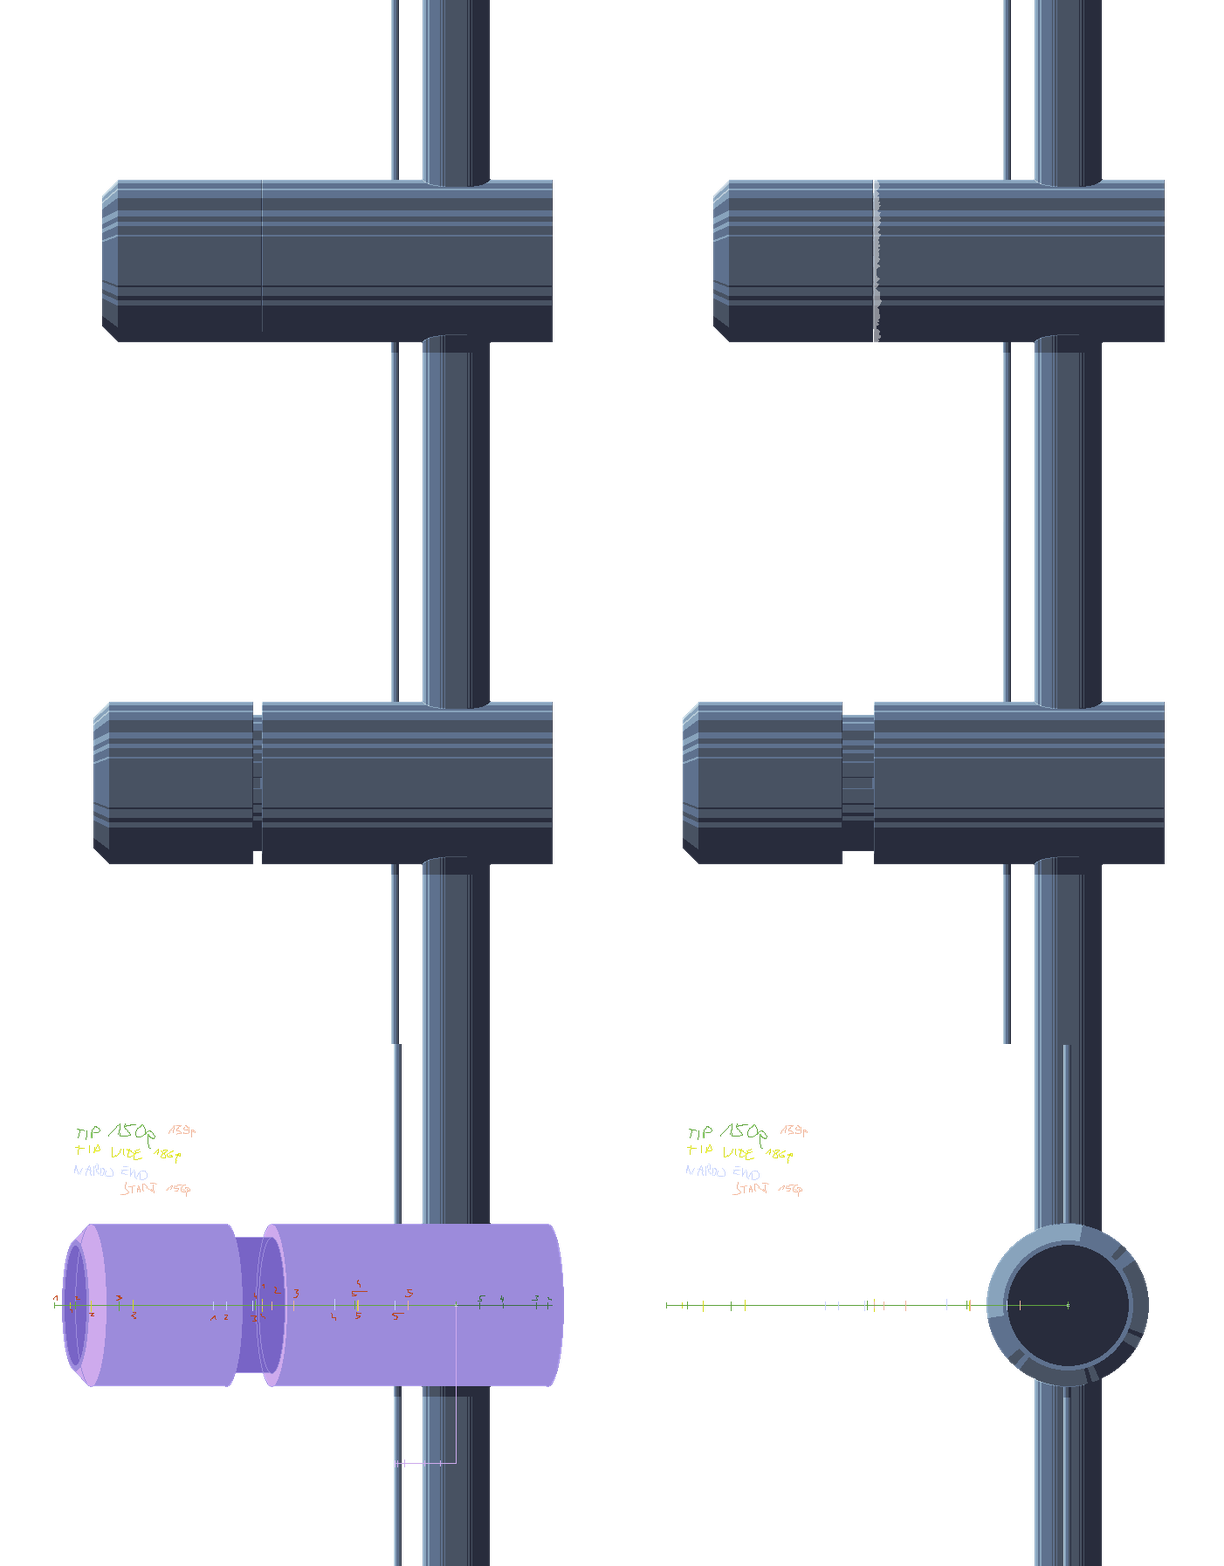
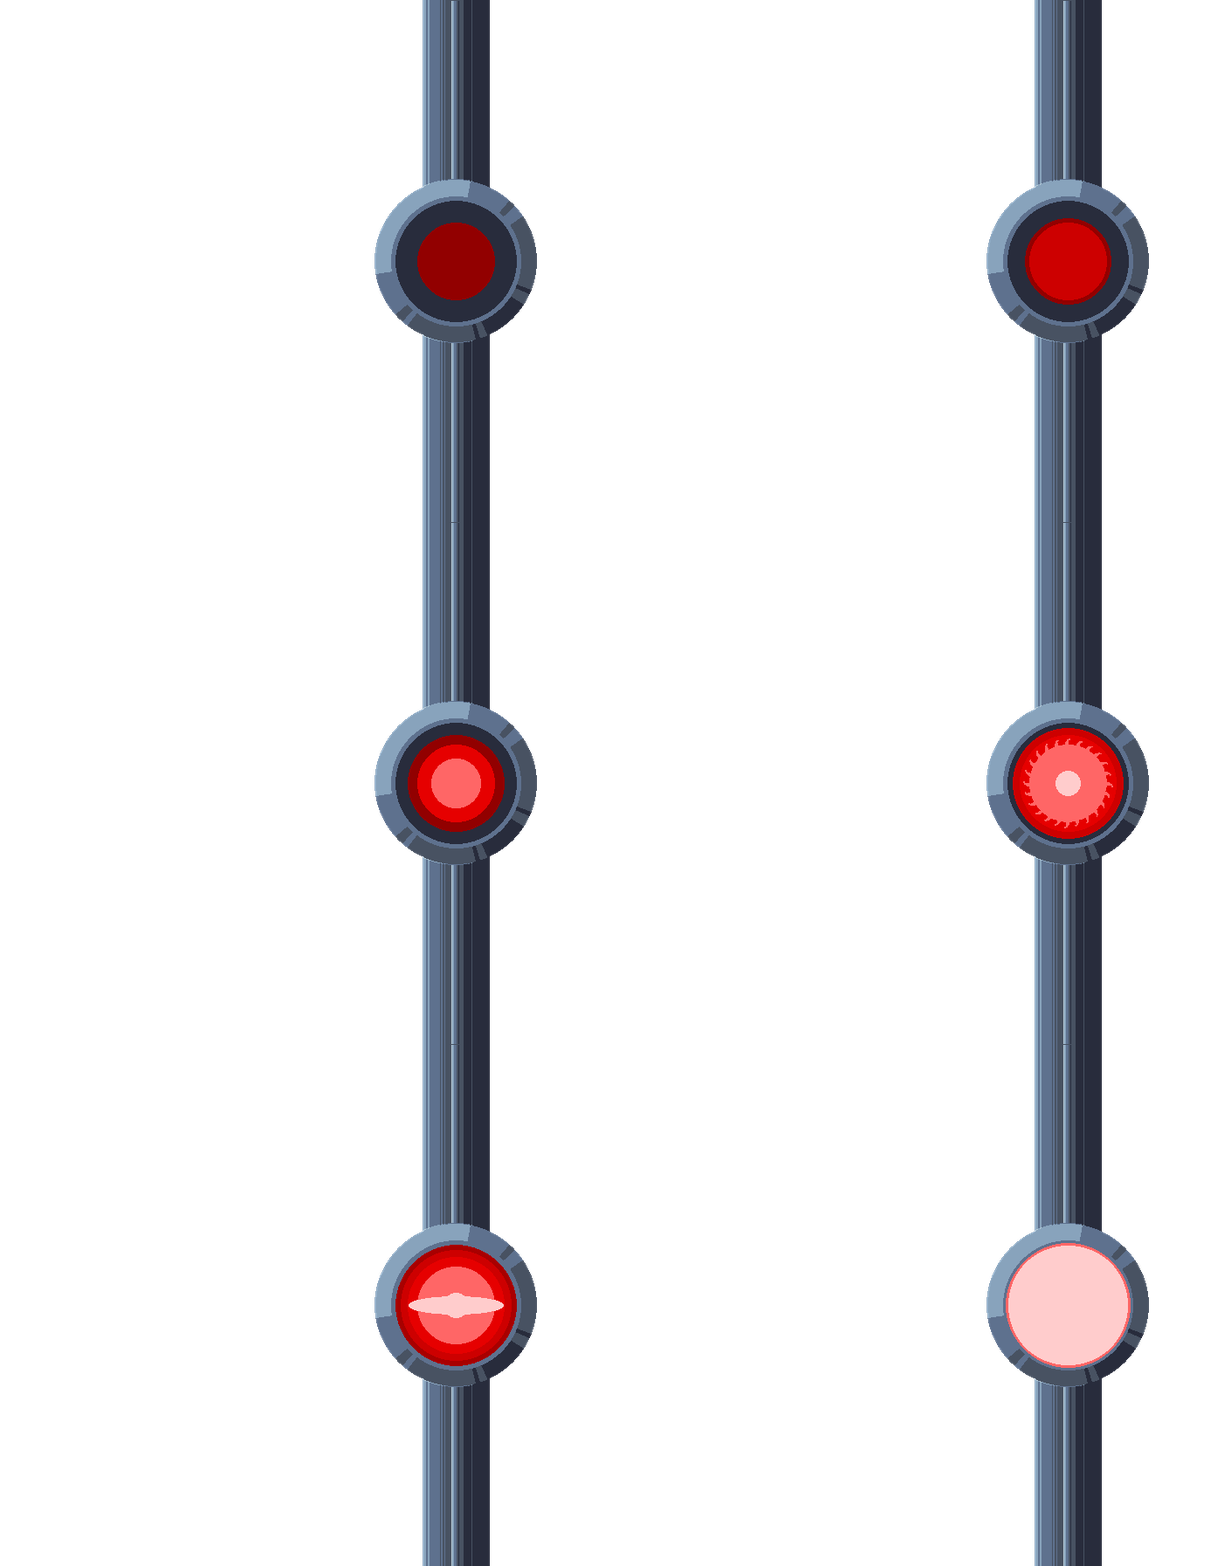
just a sappy old tube (oh my god it's rotating)
For the past two (oh my god) months I have been working on spriting the final boss of Project Exploder stage 1. It was pure self-inflicted mess borne out of hubris and blindly using the native window resolution (720p), but I'd like to say that I've learned some new tricks while doing it.
Probably.
So anyway the last stage of the fight is somewhat timed. The ultimate goal is to destroy the weakspot located on the ship's bridge-like structure before the player is blasted away by the battleship level cannon (which is an instant game over). Possessed by inspiration I've designed and elaborate sequence where the battleship's hull slides apart, revealing the cannon, which aims upwards, towards the player. Drawing the hull went... sorta well, inasmuch as pixel pushing a 1500x900-ish plane might go well in any case. The bridge part was even fun, what with me further practicing delineating angles and impressing 3D structures in 3-4 colors.
But then came the gun.
I felt the pain deep in my bones as it was no longer possible to avoid the reality of drawing a tube, and then rotating it towards the screen. Well, first things first though, I've made a rough outline sketch, just two intersecting rectangles to get the proper scale and location for the rest of the battleship.

Having done that, it was time to give the required tube-y definition. At first I thought I'd just do a staged gradient - thin darkest/brightest stripes, next ones wider, and the center color stripe the widest. It would probably do, but would make the whole thing look plastic-y which wasn't quite as appealing. So I've tried a different trick that I've seen a few times, which probably has a proper name but I'm going to call it "lengthwise dithering." Basically the colors interlace a bit, which, when applied to the whole length, gives an illusion of reflective, metal and curved, surface. I have no idea how the illusion works but it works, okay? It looked good so I went a bit further and added a slight taper, and a sliding section. Frame one is done, yay.

At this point anyone who's ever animated things by hand might be wincing in pain as by adding the detailed, uneven bits I made my job much, much worse. Now I have to track multiple important details through every frame and make sure they don't distort enough to break the illusion of a real rotating object. Experienced, talented artists can probably do it easily. I had to figure something out to make it bearable. What I made was a sort of slide rule looking contraption on the topmost layer of the drawing.

What it is is a measurement aid. Each set of numbered notches marked where the central point of each section would be in frame no. X. Having those points and having the radius of each bit the tube in pixels I could squish the circles appropriately1 and connect them with simple lines. Flat colors first so I can make sure it doesn't look wrong...

And then, after fixing the most egregious distortions, it's a relatively simple matter of texturing (though still annoying for having to keep a mental image where the "light" is "shining" from).


we'll see
#dev
rather blithely I assumed linear relation between rotation and squish ratio; now I'm aware it's not that - it's cosine, but while drawing I just eyeballed and tweaked until it was good enough. Yay math (hate you math).↩